
There are lots of amazing bikepacking and gravel cycling options around Australia, particularly in NSW and Victoria near where I live – the problem is a lack of time! If you are ready for some longer-distance cycling, I hope that this page of Australia-based trips provides inspiration to pack the bike and go away for multi-day trips. There are so many great routes to travel! The things you see, the people you meet, the understanding you gain of the countryside: all are benefits of travelling at bicycle pace.
Below is a mix of two day, three day and longer trips I’ve been on. If you would like some information about how I got started with bikepacking, how I normally travel, the bikes I have, and also some tips to help you make your own choices on setup, I’ve created a page just for that!
If you find these trips useful, great – I am really pleased. If you find them super useful, and would like to give a little back to maintaining the site, you can always buy me a coffee. It would be most welcome!


Flash bikepacking: Cootamundra canola loop
When the canola is in bloom, southern NSW offers some amazing rural views. We took some in on this ride pre-Wagga Gears+Beers…

Bikepacking: Moreton Island (Mulgumpin)
Cycling on the world’s third largest sand island requires a fat bike but offers a tremendous bikepacking escape that is only a short ferry ride from Brisbane.

Flash bikepacking: Victorian alpine climbs
Want some climbing with your bikepacking? Look no further than the Victorian Alps. Just make sure to pack for any weather…

Bikepacking weekender: Canberra – Wee Jasper
A bikepacking overnighter combining some back road adventure through Brindabella National Park with great camping in Wee Jasper.

Flash bikepacking: Plane, trains, and a folding bicycle
Adventures on the folding bike get serious with a flight to Sydney, 2 day ride to Goulburn, and return home on the train.

Flash bikepacking the Attack of the Buns
Attack of the Buns is iconic, and can be tailored to start/end in Canberra – even in mid-winter!

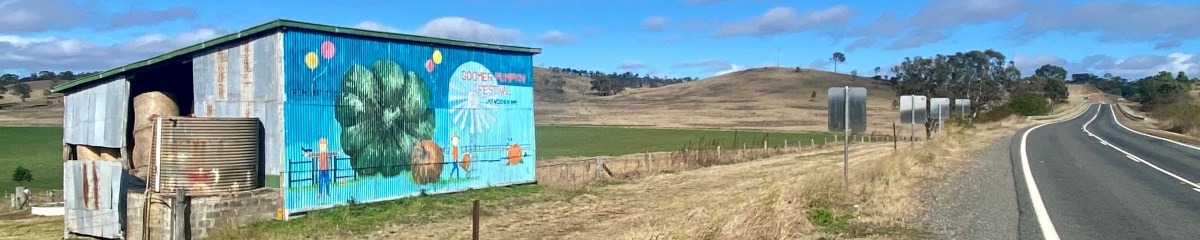
Flash bikepacking: Jugiong, Young & Hilltops NSW
The Hilltops region of NSW offers some lovely cycling. The most epic part is getting there via Wee Jasper and Jugiong….

Flash bikepacking weekender: Canberra – Goulburn
A two day ride to take in some great gravel and backroads to Goulburn, via Gunning, Breadalbane, Collector and Gundaroo.

Flash bikepacking: Canberra to Melbourne the hilly way
A return to the Australian Alps, 10 days of hilly gravel goodness. With a few breweries thrown in….

Flash bikepacking weekender: Moss Vale to Taralga
Some of NSW’s best gravel – southern highlands goodness a short drive away from Canberra or Sydney.

Flash bikepacking: Big South-East NSW loop
Bikepack trip. Lots of different beer. Enough said.

Flash bikepacking: Canberra to Spirit of Tasmania Ferry
Why fly to Tasmania when you can cycle? Other than one takes 6 days, the other a lot less….
Flash bikepacking the Kilkivan to Kingaroy & Brisbane Valley Rail Trails
An epic four day trip on the Kilkivan to Kingaroy Rail Trail (KKRT) and Brisbane Valley Rail Trail (BVRT).
Flash bikepacking weekender: Canberra to Binalong
The first in a series of flash bikepacking weekenders.

Flash bikepacking: Canberra to Gippsland return
Travelling around and over the Australian Alps, 9 days of NSW and Vic bikepacking offers an unforgettable trip.

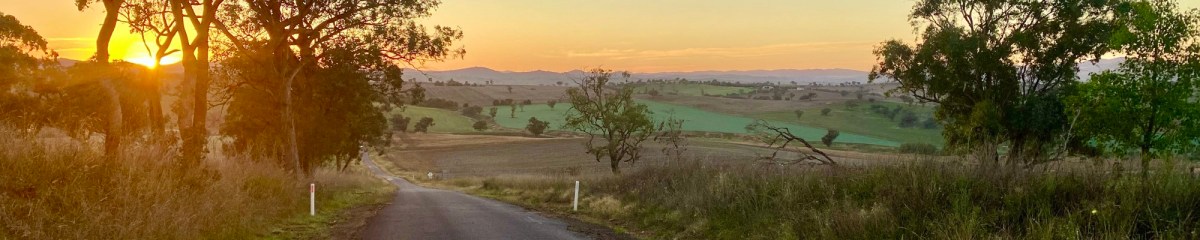
Flash bikepacking: Canberra – Nowra – Goulburn
3 day bikepacking weekend taking in Nowra, Kangaroo Valley, and back through the Southern Highlands
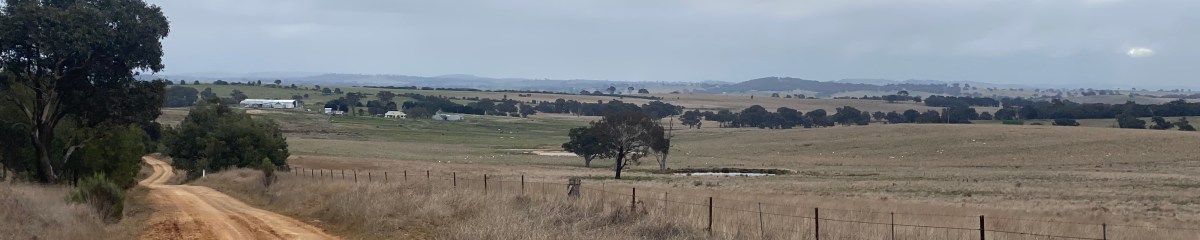
Flash bikepacking: Canberra – Crookwell – Harden
3 day bikepacking weekend looping through the Southern Tablelands and Southwest slopes.
There are also a number CyclingGravel routes from Canberra that can be made into great overnight bikepacking trips.
- Canberra – Yass.
- Canberra – Braidwood (also via Majors Creek).
- Canberra – Gunning.
- Canberra – Tumut (also via Wee Jasper).
- Canberra – Coast (via Nerrigundah).
Receive Cycling Gravel Articles
Get new content delivered directly to your inbox.


