Folding bike acquired. Next question: can this thing actually be used for bikepacking? In particular:
- Is it going to be ok to ride on a bikepacking adventure? For example can it climb? Is it comfortable enough for a long day in the saddle?
- Can I easily pack it for transport (e.g. on a plane, train)?
- Will it be possible to sensibly carry the necessary luggage for a bikepacking trip?
The research and experimentation began.
March 2025: If you want to get the full up-to-date summary of where CyclingGravel’s folding bike adventures are up to, check out the Folding Bikepacking page
Trying out on rides
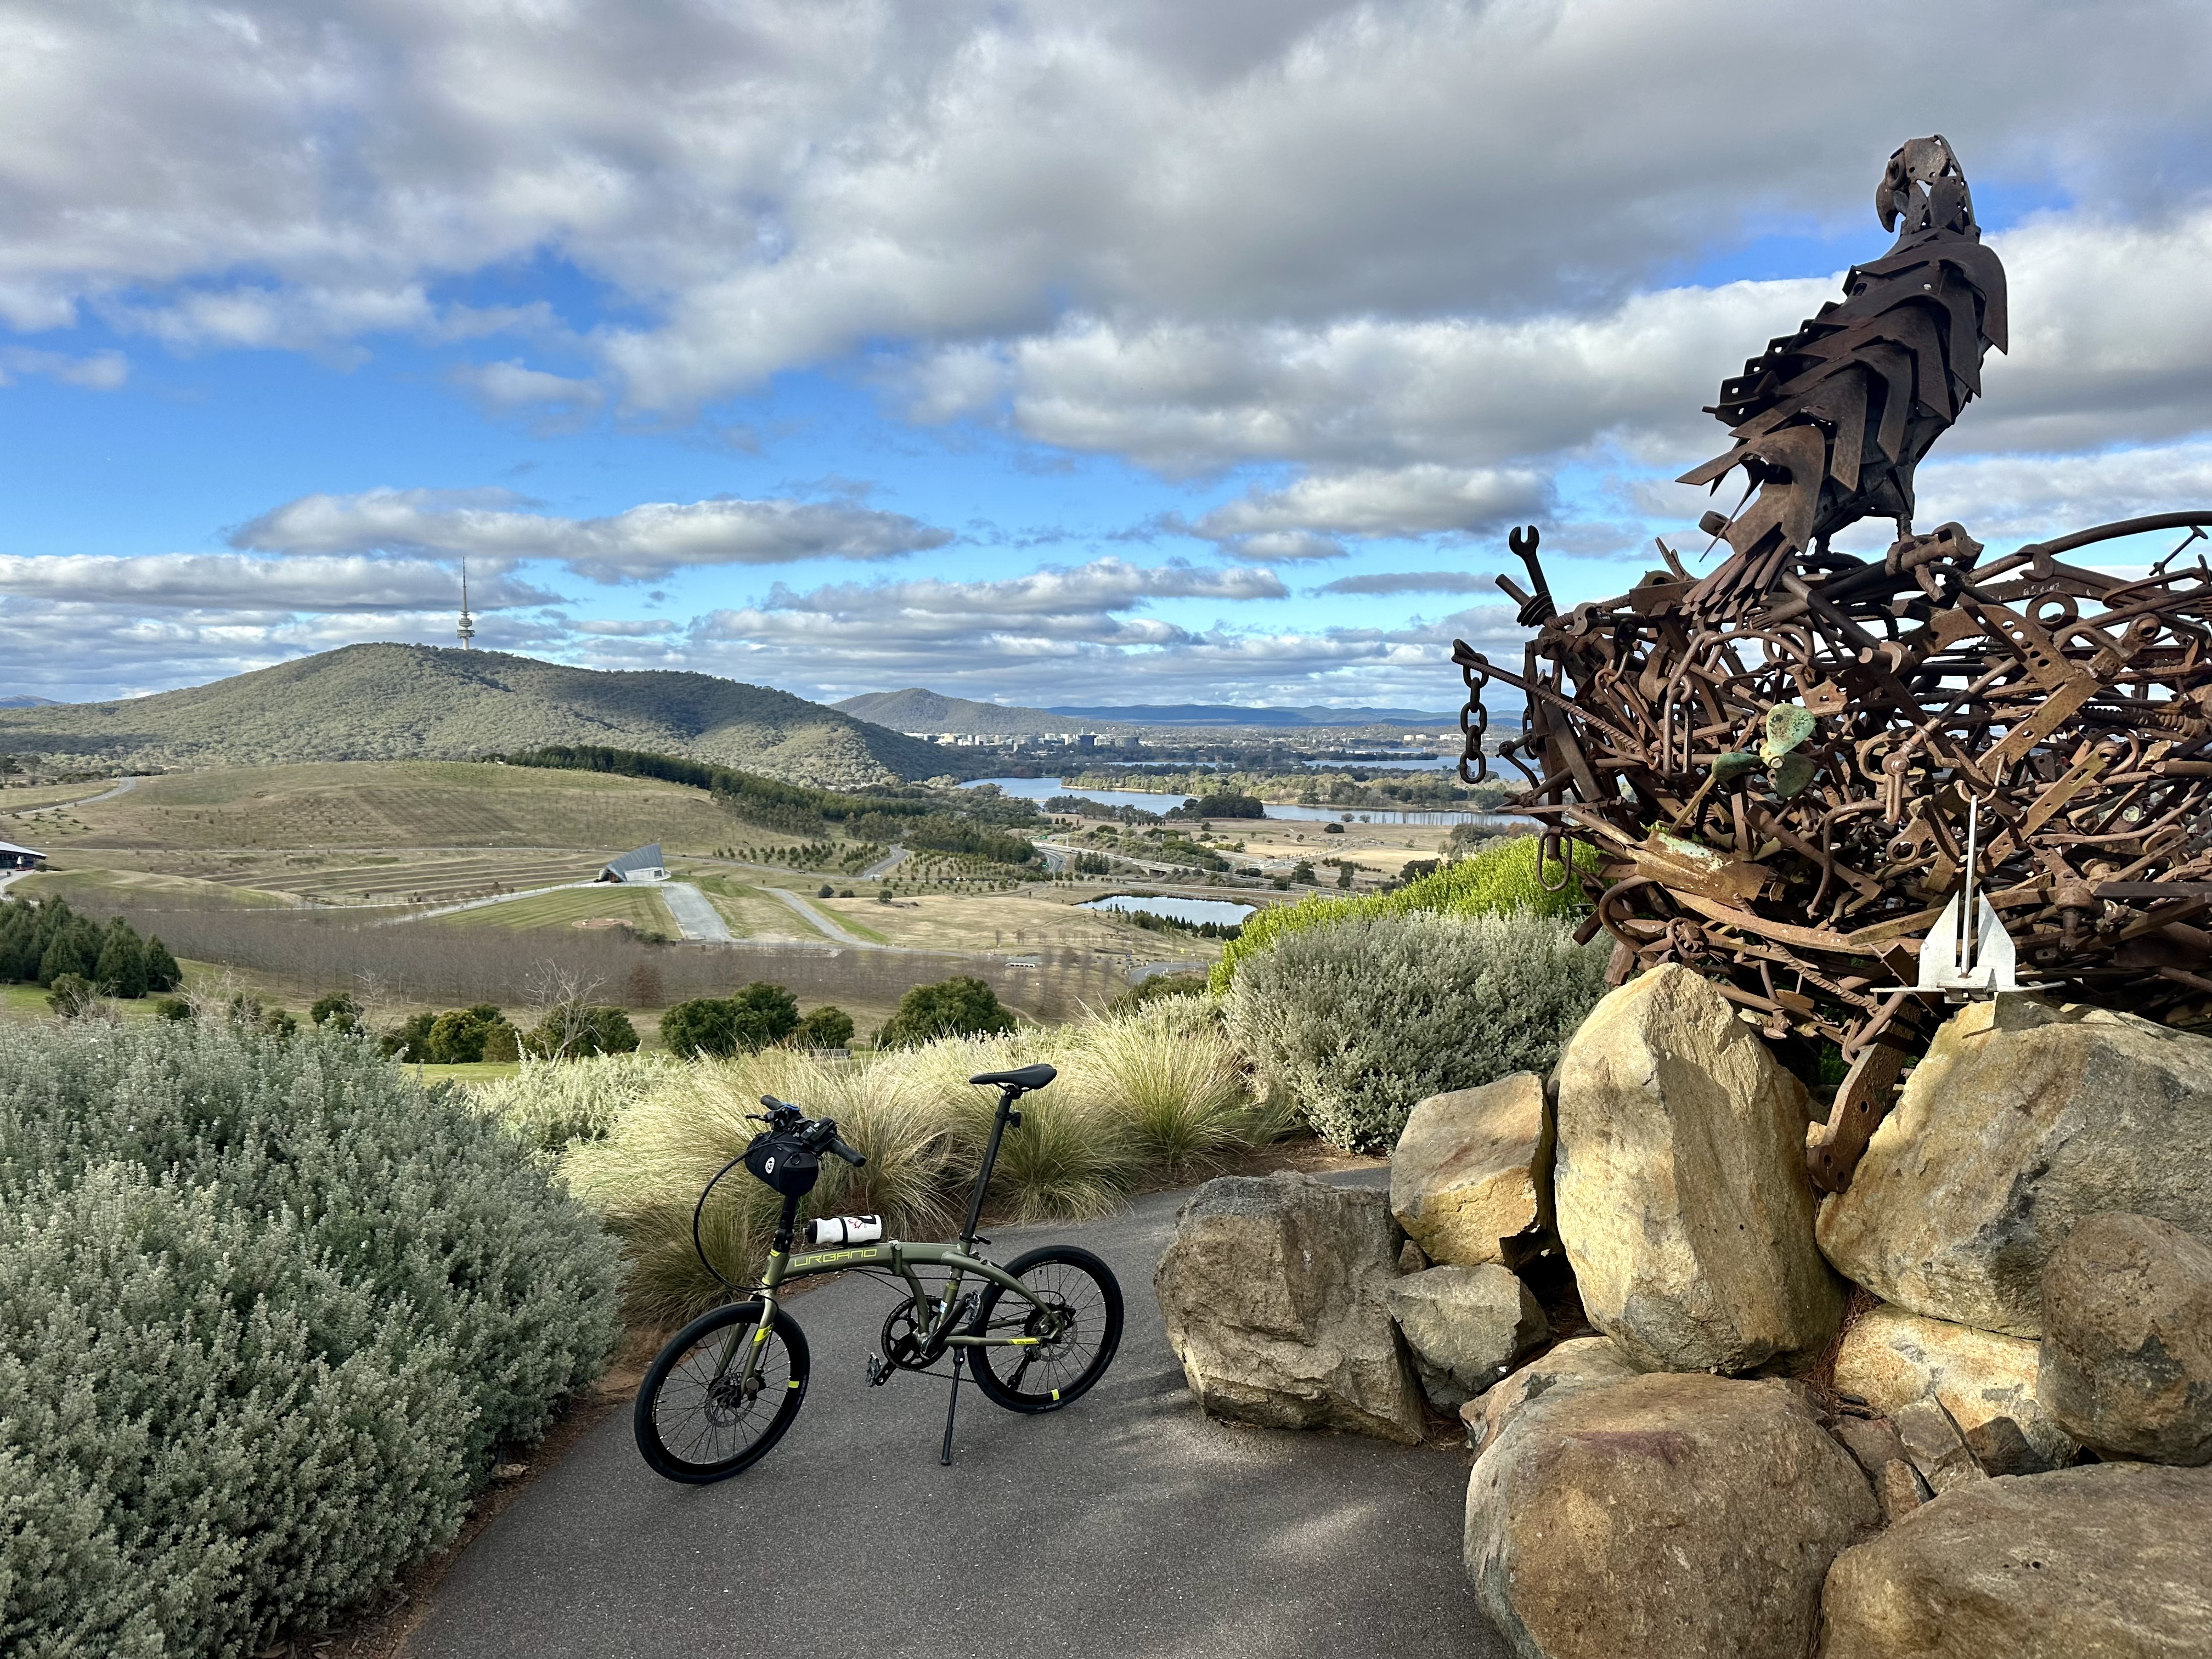

This bike is a lot more pleasant to ride than you might think. The first thing to try was some climbs. In terms of lowest gearing, the gear-inches ratio was reasonably similar to a road bike using 34 front, 30 rear – so it is not exactly super low, but not terrible either. As a first impression, the bike happily climbs 10% gradients, but when a slope kicks above this it becomes a bit more challenging. What makes it hard at that gradient is that pushing out of the saddle is not that easy – probably the major downside of the bike. The handlebars are too close to the knees!
On the other hand, cruising for a 100km ride proved quite comfortable. I headed out of Canberra on the old Federal Highway, doing a loop via Shingle Hill Road and Gundaroo Road. While not setting any speed records, I thought a pace averaging over 21km/h was solid given the elevation involved, and promising as the foundation for bikepacking cruise speed.
Improvements?
- I quickly realised that accessing the bidon from a traditional cage was challenging. I solved this with a Specialized Zee Cage, allowing side-loading of the bottle.
- I have been a massive fan of SQlab inner bar ends on flat-bar bikes for some time – I have them on my cross-country MTB and fat bike. Adding them to the handlebars now offers alternative hand positions.
I have also thought about changing the tyres to something more robust. Fun fact I’ve now learnt – there are two different 20 inch tyre standards. Who knew? I haven’t bitten the bullet on this yet…
Packing the bike for travel
To be honest, it would be totally ok to buy any luggage of the right size for the bike. I was keen, however, to acquire something that could be folded and then carried on the ride that would also be robust. This was going to be pretty important to achieve my goal of travelling between multiple locations where I would be bagging and unbagging the bike.


After some internet research, I decided to take the plunge and order a Rhinowalk bag. Directly shipped from this China-based company, it arrived within a week. And, fortunately, everything fits! The bag seems robust, and folds up into a pouch that I feel confident can be carried on the bike.
So now I can pack it, why not take it? I was flying to visit relatives and figured I’d take the bike along and see how things went. In short it was fine. I learnt that:
- It is on the margins of oversize luggage. Depending on where you are, sometimes the bag would come on the carousel, sometimes not.
- Compared to a ‘normal bike’, the process of packing and unpacking is really simple. 5 minutes tops to do either once you get the hang of things.
- Of course, the protection offered to your bike is really limited. I suffered no damage on the first trip, but it does seem possible.
- The bag is not super robust. Tiny holes have appeared after only a couple of trips. Having said that, the bag was not that expensive.


Update: December 2024. I have now travelled a few more times with the bag and bike. As an arrangement when you are in control of your bag – for example, carrying it onto a train – it works really well. I have come to the conclusion, however, that I’m going to have to come up with another plan when flying. After 9 flights (including connections) the bag is destroyed, and on one trip the derailleur hanger was severely bent. Thankfully this was at the end of a trip so with tools, stand and time I could fix it – not so easy when arriving in a new location. I’m going to have to reconsider flying, but for trains I reckon the plan is ok.
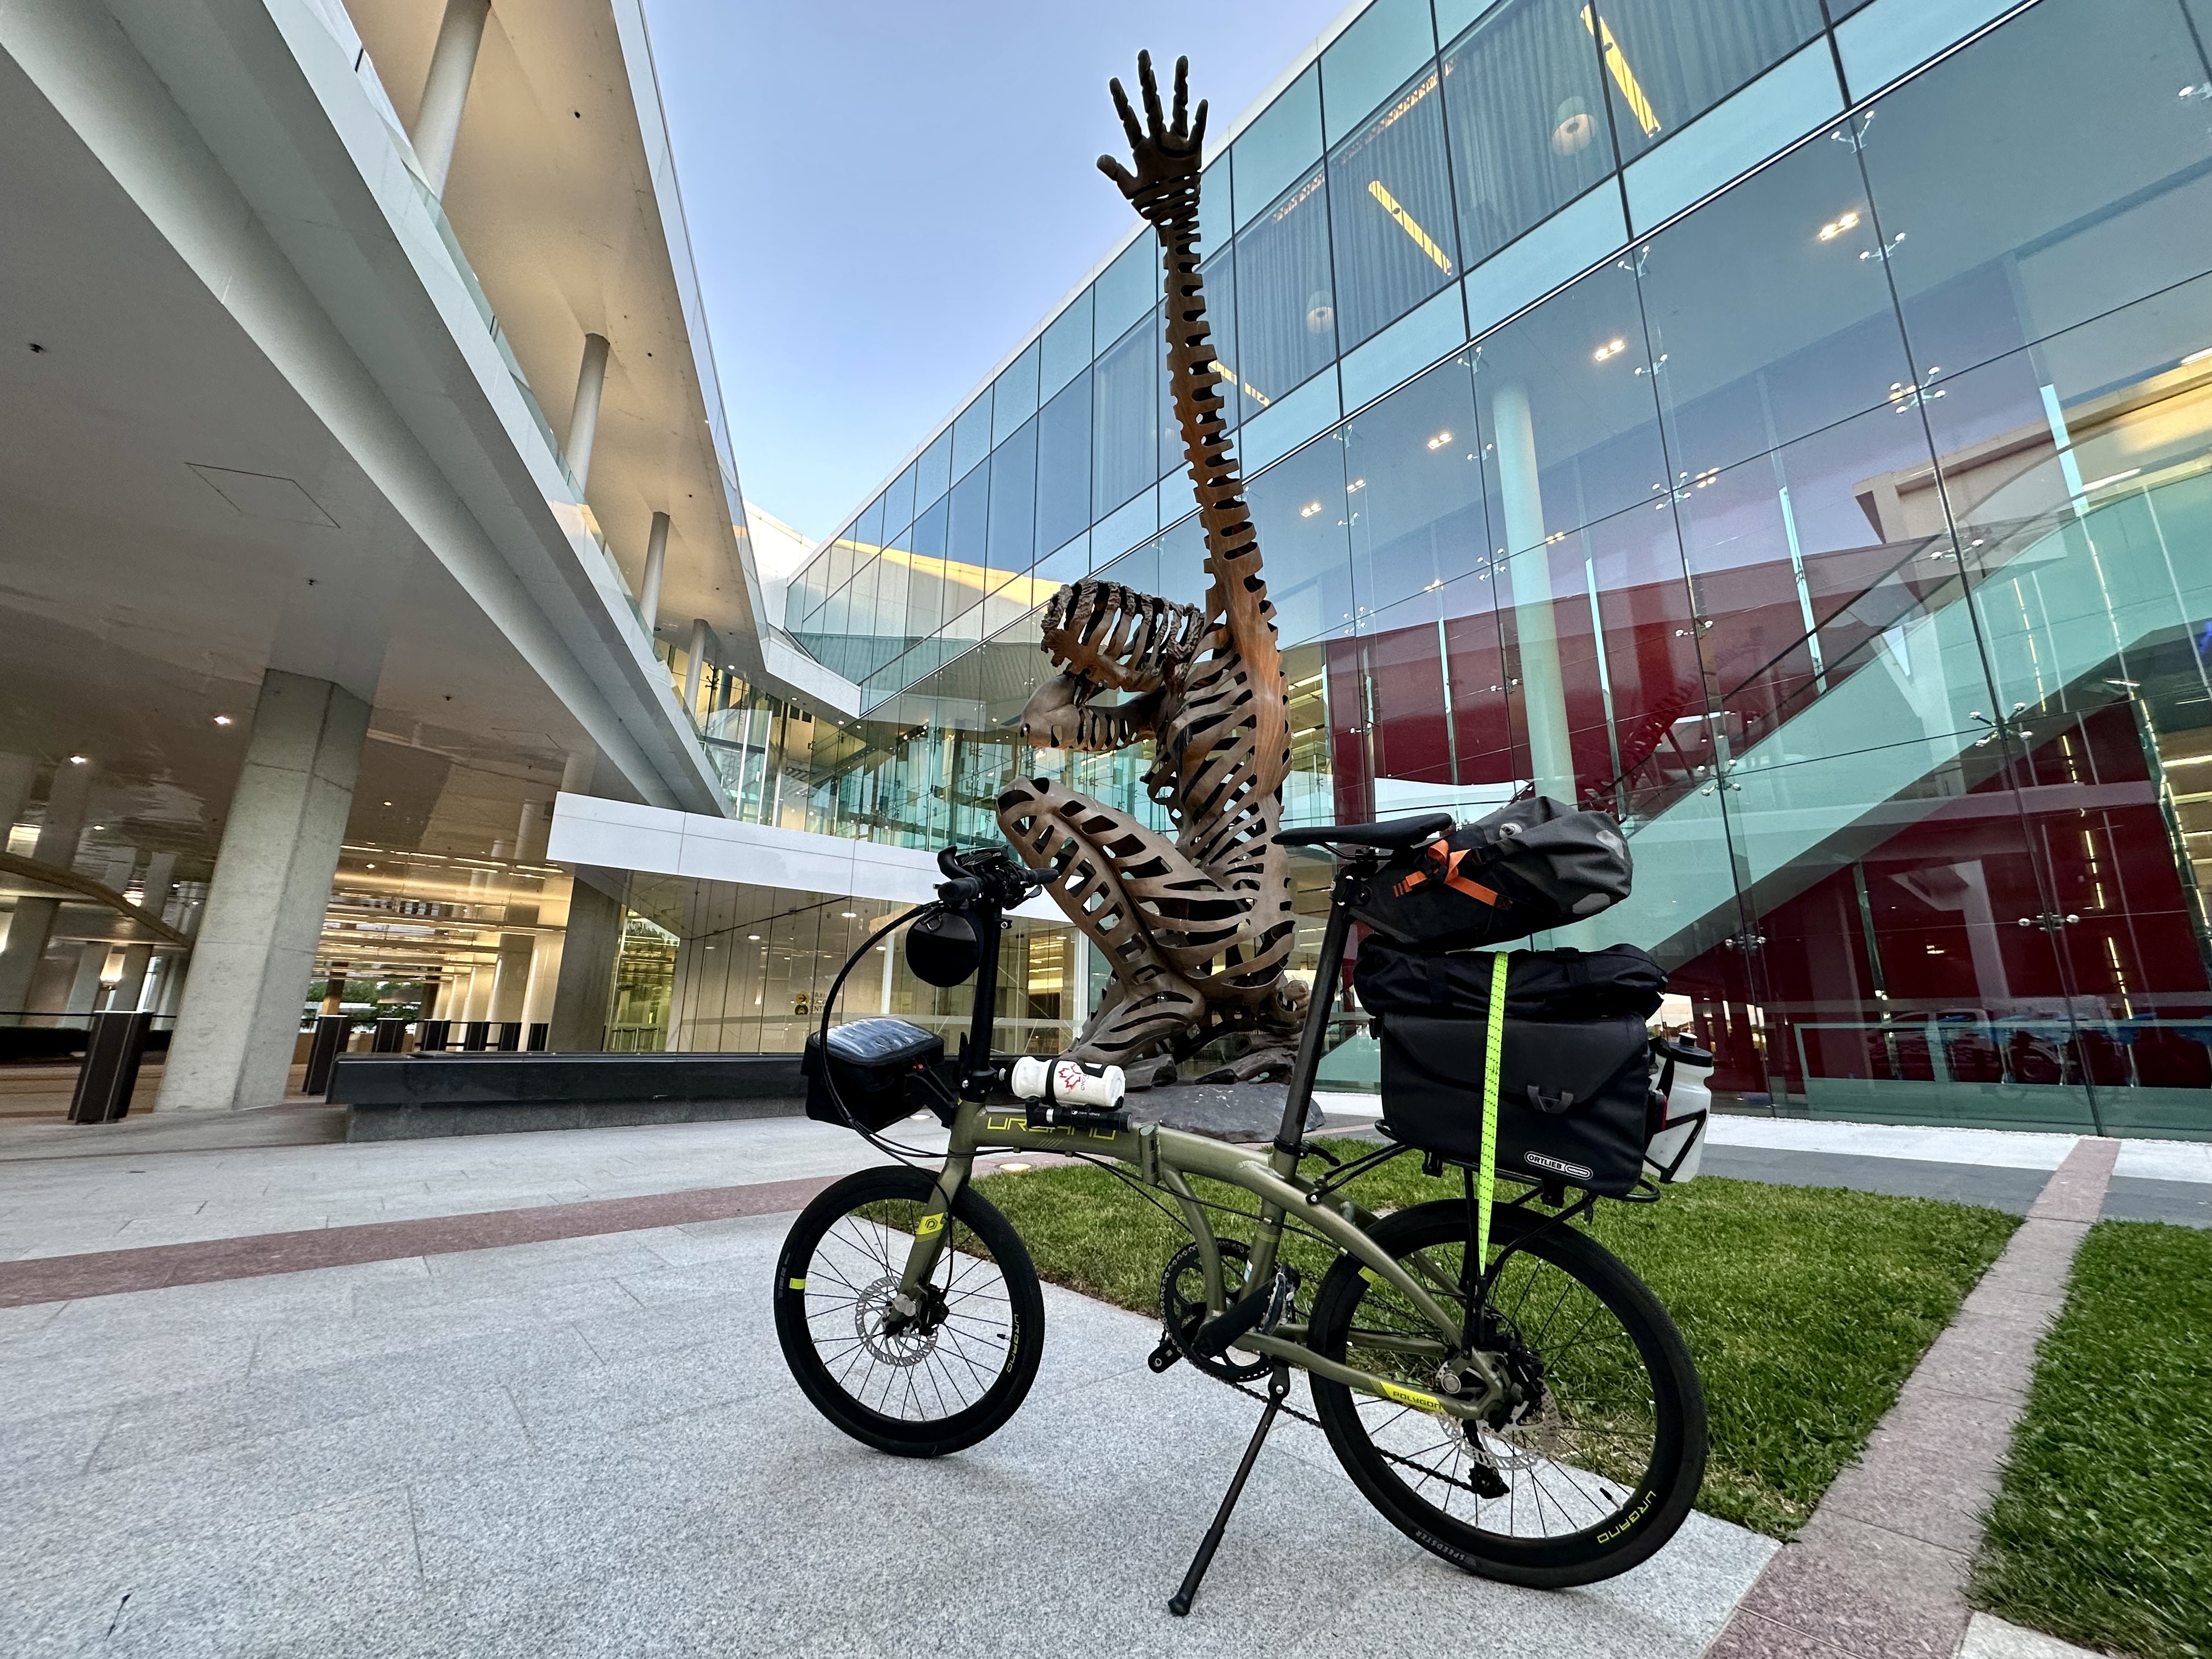
Bikepacking setup
As a starting point for thinking about the bikepacking setup, I considered the luggage capacity I’ve used on previous trips. In short, the aim is around 30 litres (not including any camping gear) – a bit more if travelling in winter to allow for jackets, extra gloves and bulkier off-bike attire. I also figured that I needed to solve for multiple water bottles – one would not suffice.
So, what have I added?
- A small handlebar bag, mainly for spare tubes, tools etc.
- A Crankbrothers GEM pump, which comes with a mount that fits under the bottle cage.
- A KLICKfix adapter, allowing click-on of an Ortlieb Ultimate 5l bag.
- A 20-inch bike rack, bought online from Aliexpress.
- A water cage on the back of an Ortlieb Trunk Bag.
With all this on the bike, it is possible to carry a range of luggage. Large pannier bags were not great as they were too close to my heels when pedalling, but a rack-top bag was totally fine along with a saddle bag.
So, here is the fully loaded bike. Time for a trip…